FIRST OFF, i just want to apologize that this is extremely overdue. I have been likewise extremely busy this week and had no time to create nor post this custom. Anyways...
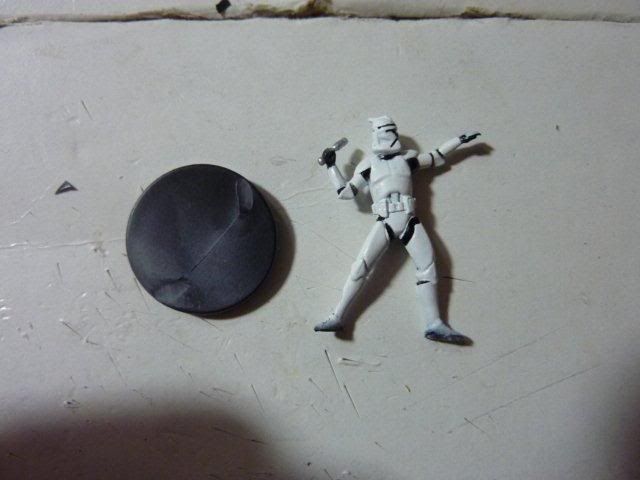
So, like said before...this is what Greivous does with all the captured clones he gets. First, he straps them to a board...
To make this (clone) custom, you do NOT need...:
-Paint
-Modeling Putty
-Any V/R pieces
-Experience (Well, you might need a little now lol)
What you DO need is:
-Superglue
-Xacto knife
-x2 Clothes Pin
-Paper Clip (Use it to spread out the superglue)
-Tools (i.e.: Pliers/tweezers, wire cutter, etc.)
-A bendable grippy/tweezer thing...i can't really explain what it is it's like a base and a bendable wire-tweezer comes out of it...it's really helpful to hold some drying pieces in place while you work on other parts--*STRONGLY RECOMMENDED* if you want some pics of this i'll post some to someone's request.
-Thin cardboard (the best kind would be the stuff you get with the HUGE SWM boxes...the protective cardboard that always goes with the huge figure)
-Scratch piece of cardboard as a "knifing" surface so you don't scratch your table or whatever while working
-x1 Elite Clone Grenaider
Alright -- are you ready for this??? (Background cheers). OK! Let's get started!!!...first off, take your Elite Clone Grenaider (EG) and cut him off from his base, like so:
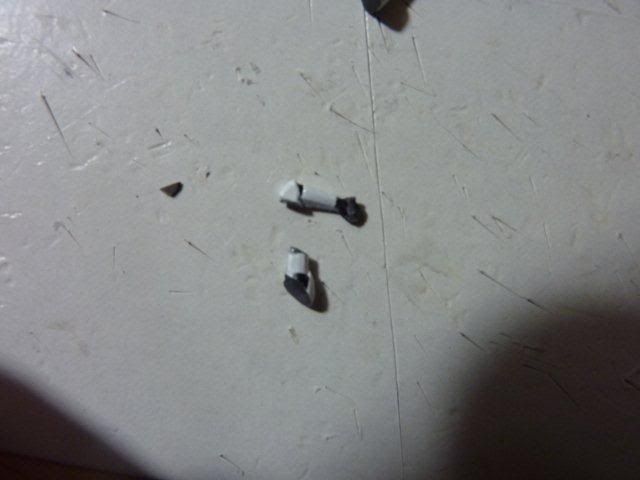
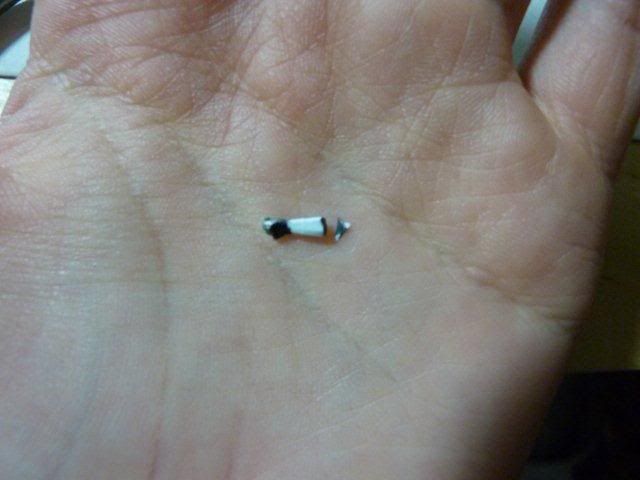
Next, cut off the clone's little grenade thingy (both sides). Ya know, i know this is off tangent but in the pictures before i ever got to see one in person i always thought that the grenade looked more like a silver liquor bottle or something (i.e.: he was drunk). LOL...anyways...here's the picture:
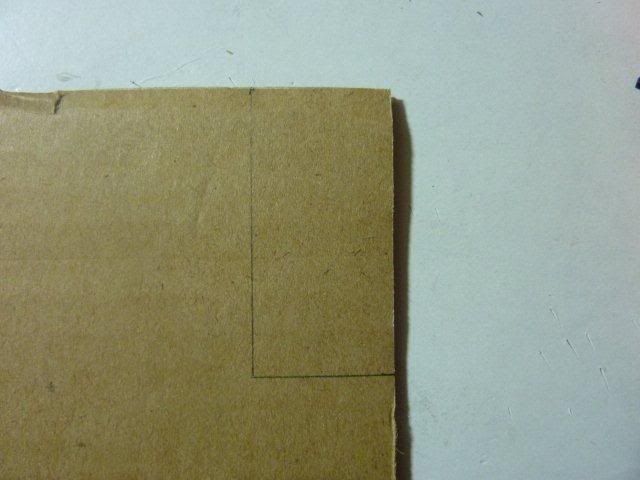
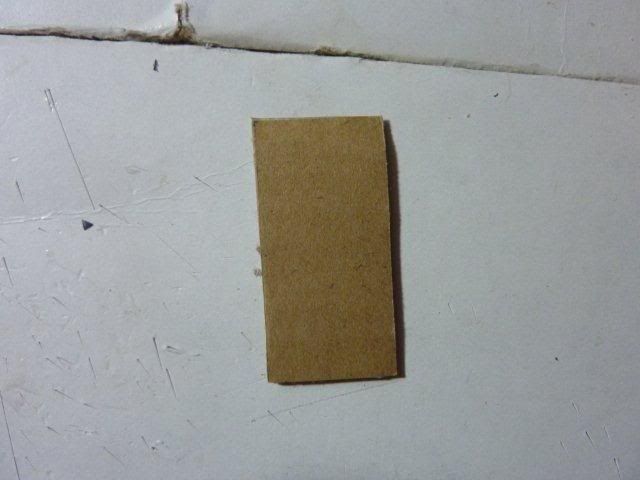
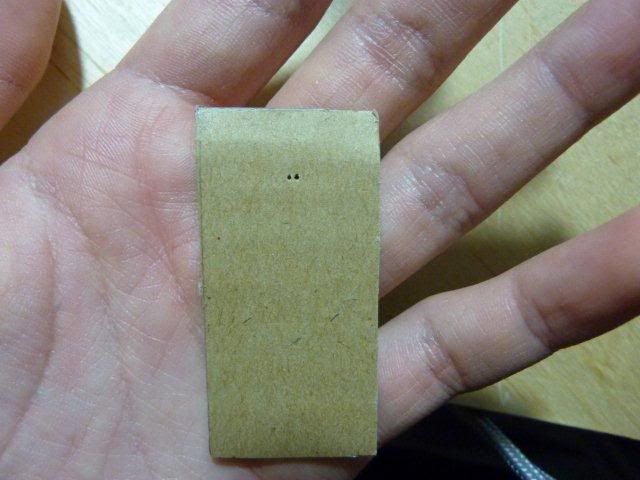
Next, take your thin piece of cardboard and measure out a 2 in x 1 in rectangle piece. If you don't have a ruler handy or you're too lazy to get one, take your EG's base and another base and put them directly side by side. This creates the dimensions of the 2 in x 1 in rectangle you'll need:
or...

Now, use your Xacto knife and cut out that triangle. I strongly recommend using a straight-edge to align your cut...usually without a guide the cut is really sloppy and crooked.
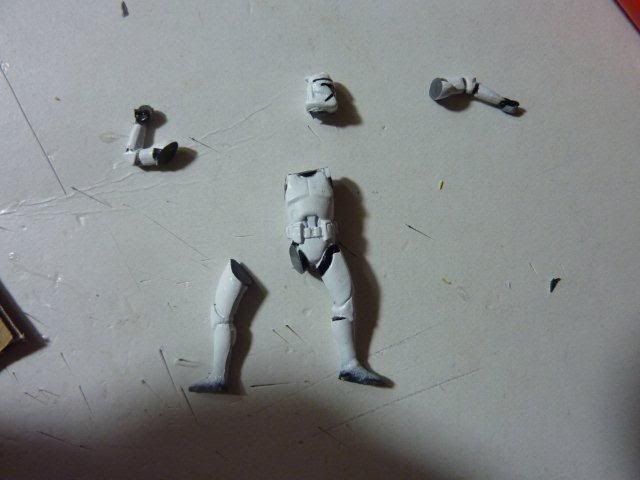
Next, take your EG and cut off a) his head, b) his right arm at the top of his shoulder, and c) his left arm also at the shoulder -- but cutting this particular arm straight down along the side of his body so that the cut makes his left side straight (see below for the picture and you'll know what i mean [i hope]):
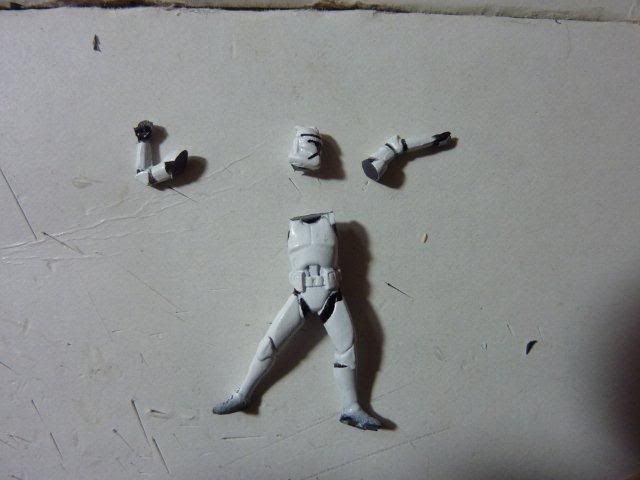
Next, cut the EG's right leg right below his top black leg joint thingy -- like so:
Now, take that right leg and cut a slant off from the inside of his leg like so:
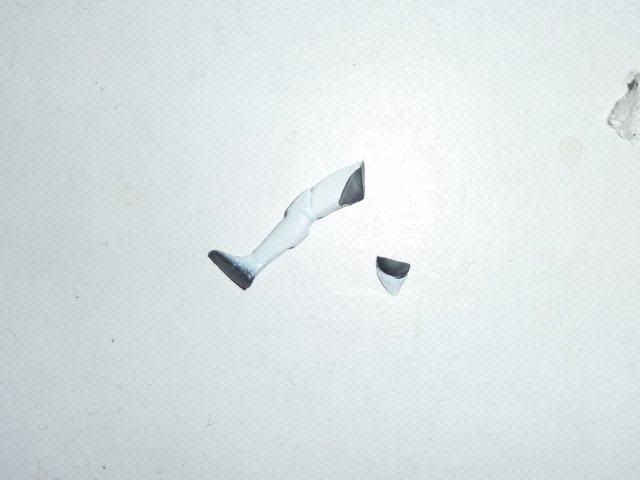
Now, glue the leg back on to its origianly place, but using the slant so that the leg has more of a straight angle than slanted angle as it did originally [before it was cut]:
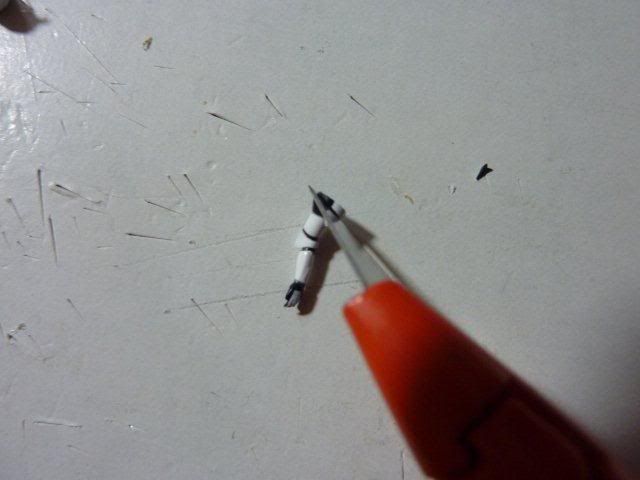
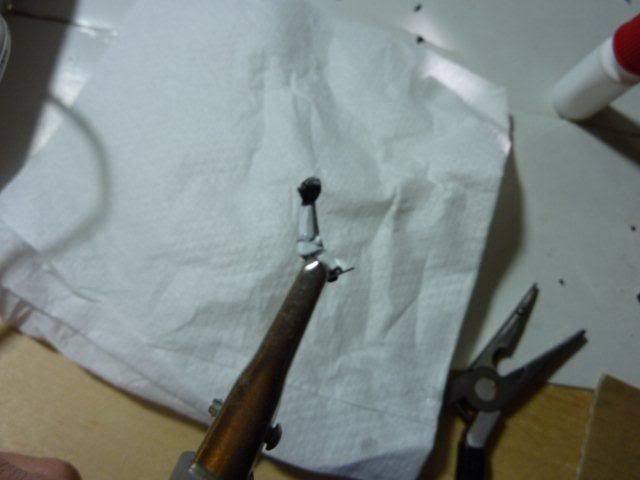
Now, place this aside to dry and take the EG's right arm. cut it at his first arm joint, which is right above the elbow...
Next, take the EG's left arm and cut a small slant at the top of his arm...the thicker side of the cut being on the white side and the thinner side of the cut being on the black side:
Now, do the same to the top half of the right arm of the EG, like so:
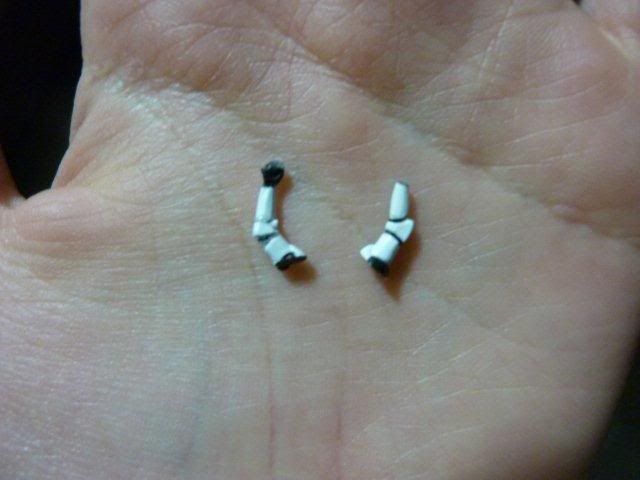
Now, take the trimmed piece from the EG's right arm and use the 180 degree turning trick and literally turn the piece 180 degrees and reglue it to the body to its original place, so it looks like so:
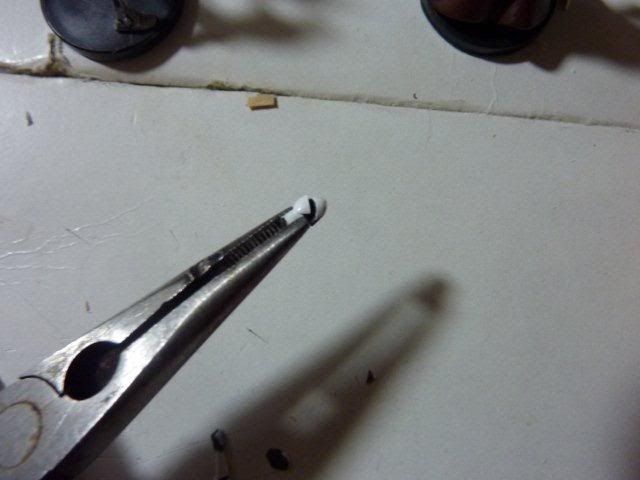
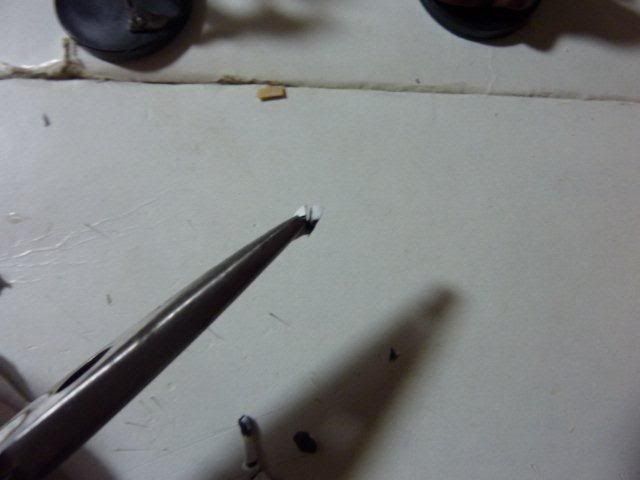
Next, take the EG's head and trim the bottom of the head at an angle so that when you place the head on the table or surface it should be tilted upwards...i tried to get a sideways view of the head to show you theslant -- it was an ok picture i guess...:
Next, cut off the EG's hand on his left arm:
Next, take the EG's lower half of his right arm and cut the triangle elbow pad piece from his lower arm part, like so:
Now, placing the lower half of the EG's right hand with his wrist facing UPWARDS, cut diagonally downwards, having the thicker side of the cut be at the top of the arm and the thinner side at the bottom, like so:
Now, reglue the EG's right hand all back together again (reminds me of humpty dumpty), gluing the triangle elbow piece back to the upper half of the EG's arm, and then gluing the trimming that you just cut from the lower half of the arm (using the 180 degree turning trick again), and THEN gluing the lower half of the EG's arm to the rest of his arm, it should look like so (and have the angle of the arm to be about the same as the picture below):
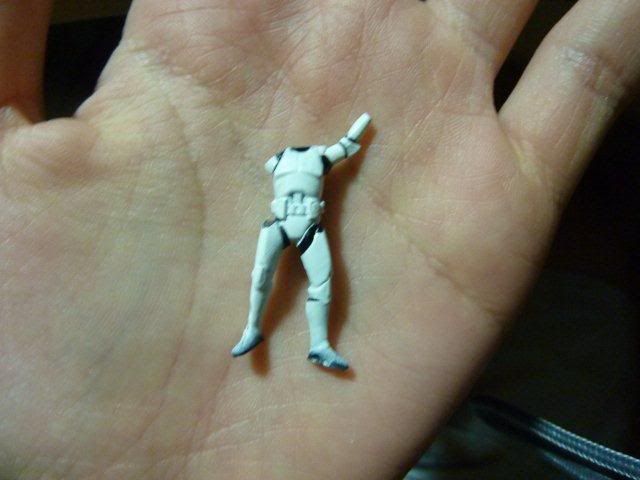
And to check if the angle is right or not, compare it side by side to the left arm. The two should look like reflections of each other (minus the cut off hand off the left arm):
Next, while the right arm is drying, make a cut at the EG's left arm. Remember how you cut straight down in the beginning of this project when you origianlly cut off the EG's left arm? There should've been a small remnant of the EG's left shoulder still attached to the EG's body. Cut this part off. Now reglue the left arm back to his body, like so:
Next, once the right arm has dried, glue it back to the EG's body. the two arms should have similar angles; if they don't, use your leftover trimmings from your project that you've cut so far and glue them to affect the angle. If you need help on this aligning part -- just ask.
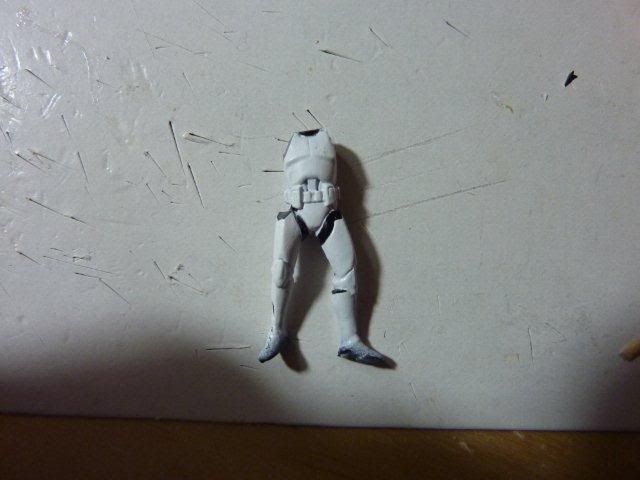
Now, reglue the EG's head back to his body. It should have a slightly tilted upwards angle. If the head doesn't fit, trim the sides of the head so it does (it didn't fit for me so i had to trim the sides):
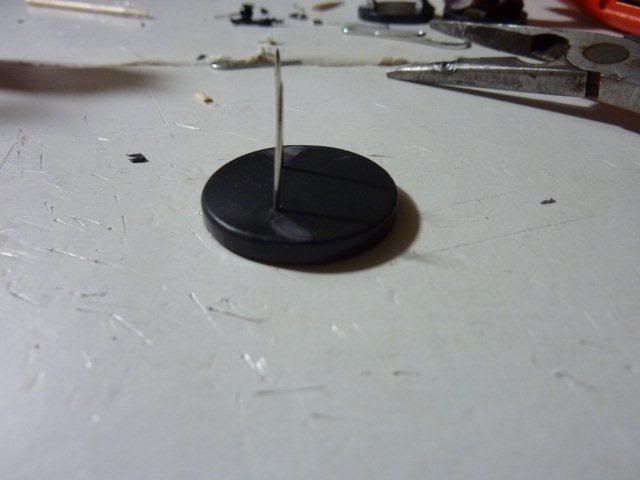
Next, using a paperclip or one of your clothes pins, poke a hole in the center of your thin cardboard piece roughly 1 5/8 inches of the way upwards (i made two holes because i was adjusting it). Basically the back tip of the EG's helmet will go into this hole, so you can lay the EG on the cardboard piece and see where his head lays to poke the hole most accurately:
Next, take your two clothespins and stick them in the EG's base. I personally stuck them in along the seam line on the base that went between the EG's legs originally...it's up to you where to poke them. But it should NOT be directly halfway between both sides of the base...have it be slightly on one side or another. Once you have successfully poked a hole in it, pull both pins out and cut pins. Flip them and restick them back in the base (pointly side up, using a tweezer or plier to do so).
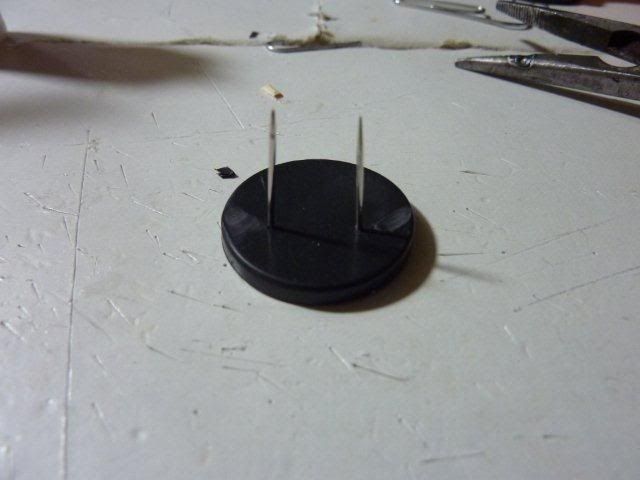
Sideways view to show where i put the pins:
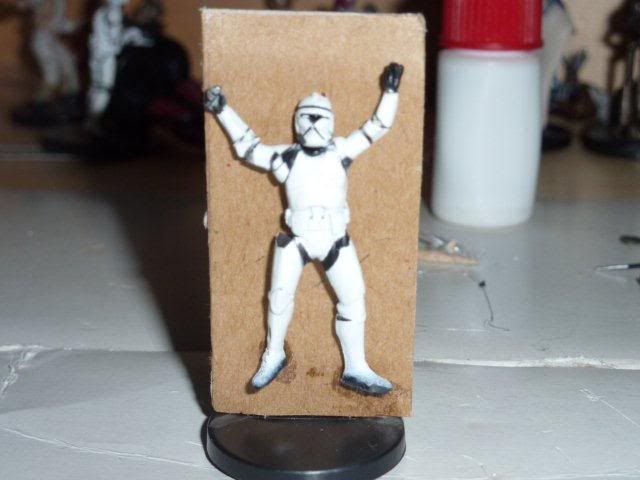
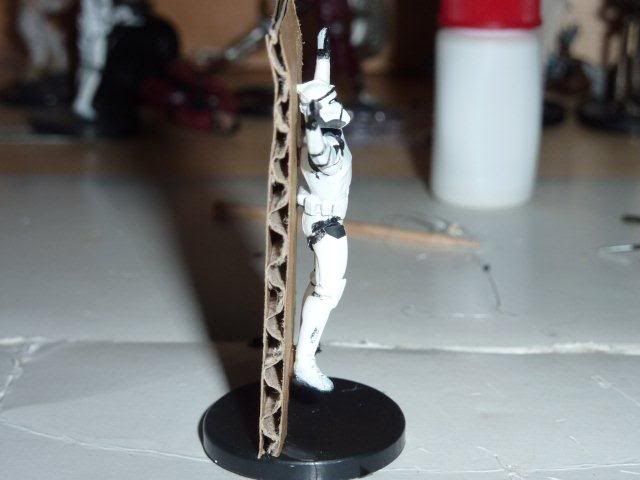
Next, place superglue on the tips of the heel of the EG's feet, and on his little cannister thing in the back of his body, and on the tip of the pointly thing in the back of his helmlet, and on his control panel thing on his back. Quickly (but gently) lay the EG on the cardboard, making sure the point on the back of the EG's helmet pokes through the hole you made earlier...it should look something like this:

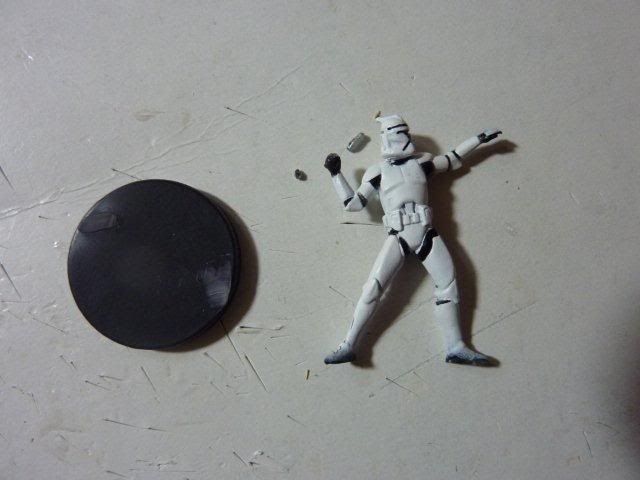
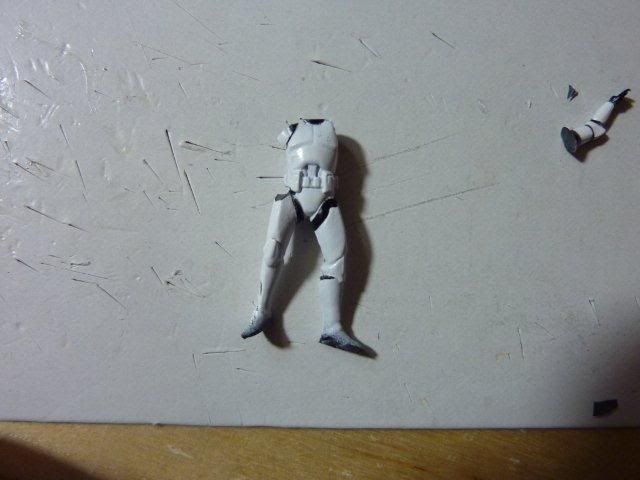
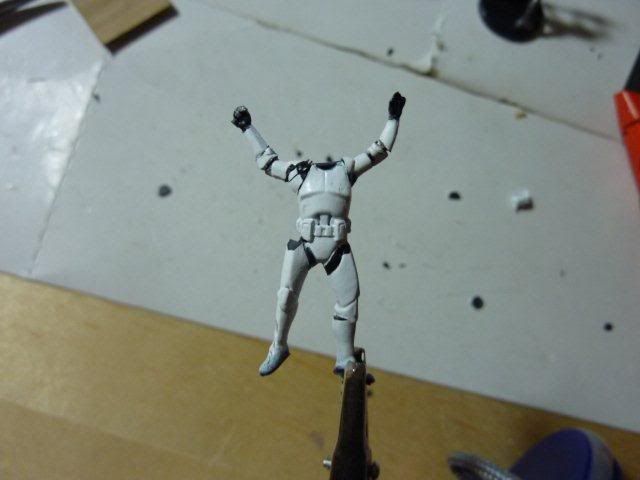
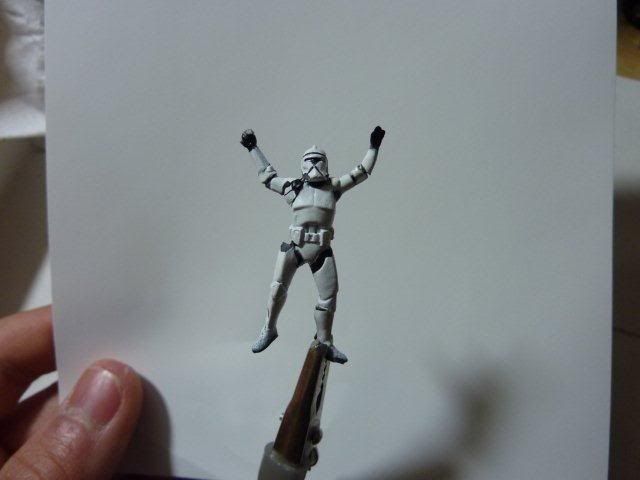
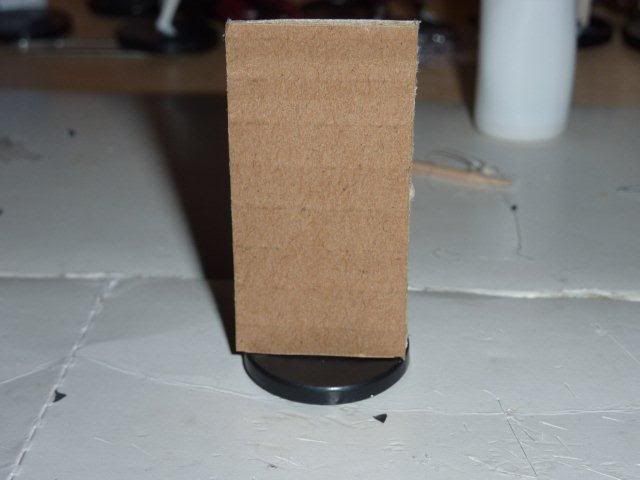
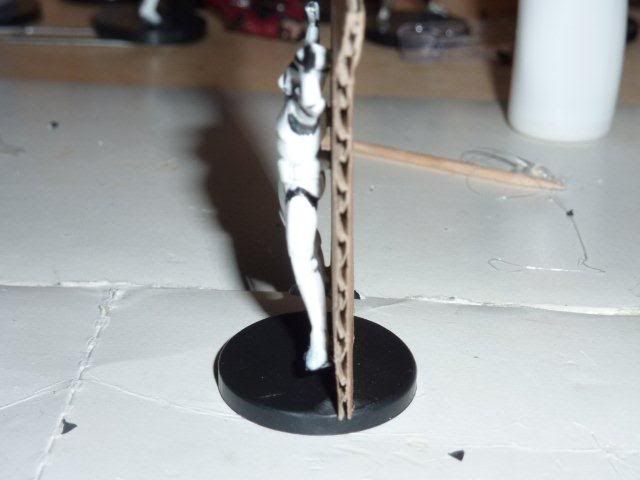
Finally (after the clone dries on the cardboard), take the cardboard and gently slide in down over the pins...making sure the pins poke upwards and slides in between the cardboard's outer layers...and you've done it! This is part I of a two-part project to see a glimpse of what Greivous does with his spare time! Here's my finished pictres:
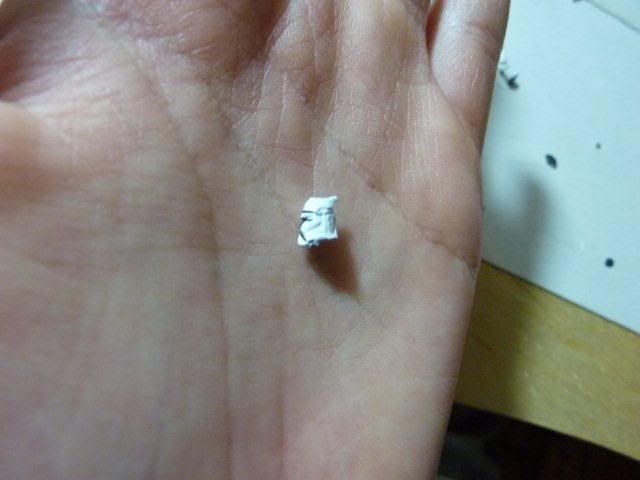
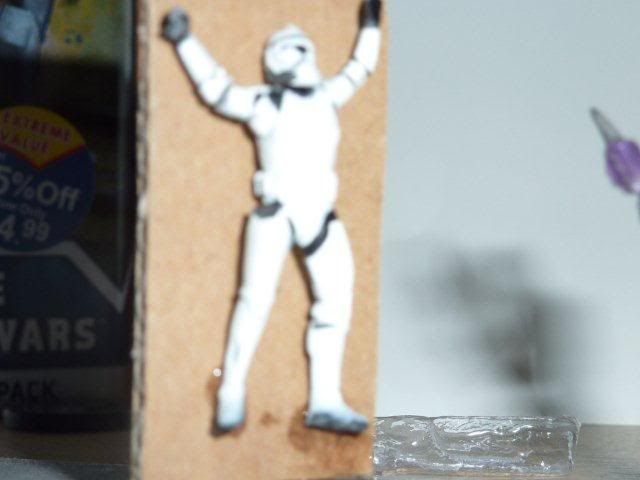
...and here's hint below in the following picture on what Pt. II's figure that will be customized!
So lemme know what you think! I will post Pt. II to this project as soon as i get the time...
Question/Comments are always appreciated