OK guys, this one i actually think turned out better than i expected, especially since it's, well...a cool flying mandalorian with a pointy blade about to (in the words of R5Don4) give someone a nice haircut right at the shoulders. Is that cool or what???
To make this (flying) custom, you do NOT need...:
-Paint
-Modeling Putty
-Any V/R pieces
-Experience (Well, you might need a little now lol)
What you DO need is:
-Superglue
-Xacto knife
-Clothes Pin
-Paper Clip (Use it to spread out the superglue)
-Tools (i.e.: Pliers/tweezers, wire cutter, etc.)
-A bendable grippy/tweezer thing...i can't really explain what it is it's like a base and a bendable wire-tweezer comes out of it...it's really helpful to hold some drying pieces in place while you work on other parts--*STRONGLY RECOMMENDED* if you want some pics of this i'll post some to someone's request.
-Scratch piece of cardboard as a "knifing" surface so you don't scratch your table or whatever while working
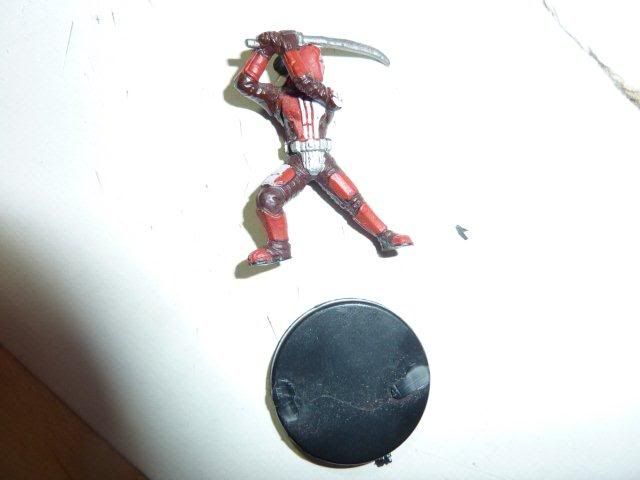
-x1 Mandalorian Maruader
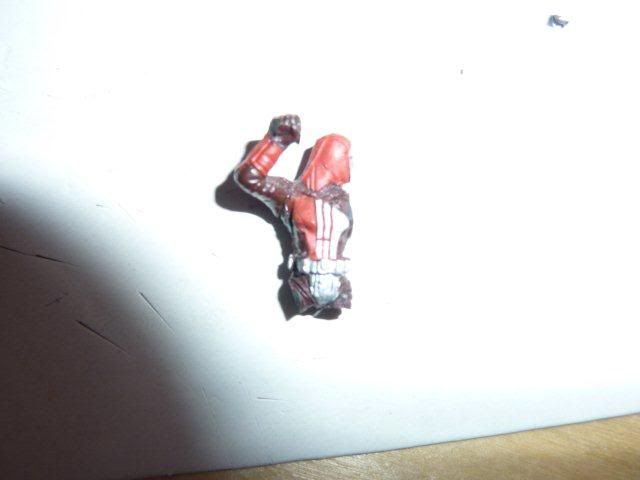
Alright. First cut off the Mando from his base, like so:
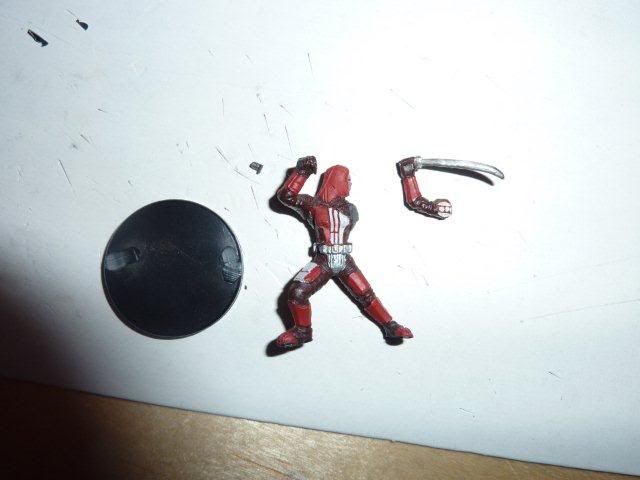
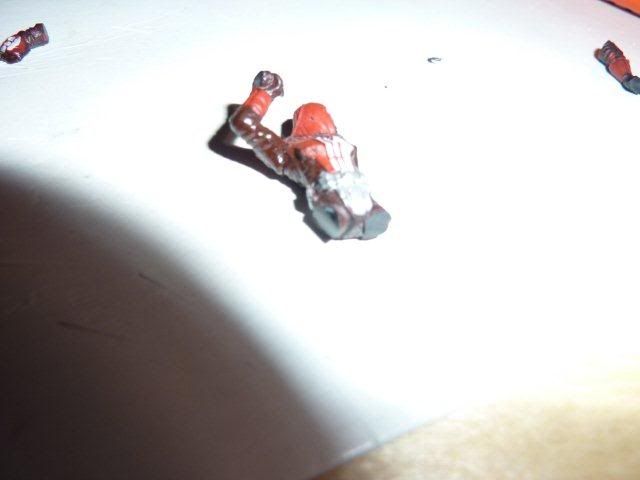
Next, cut off his left arm at his shoulder. Try to cut it smoothly off; i.e.: not a jagged cut. In general it's better to make one hard-pressed cut (meaning, pressing with all your might at one time) rather than pressing, stopping, pressing, stopping, as that will usually create a non-flat cut and/or jagged cut. Anyways...the incision should look something like this...:

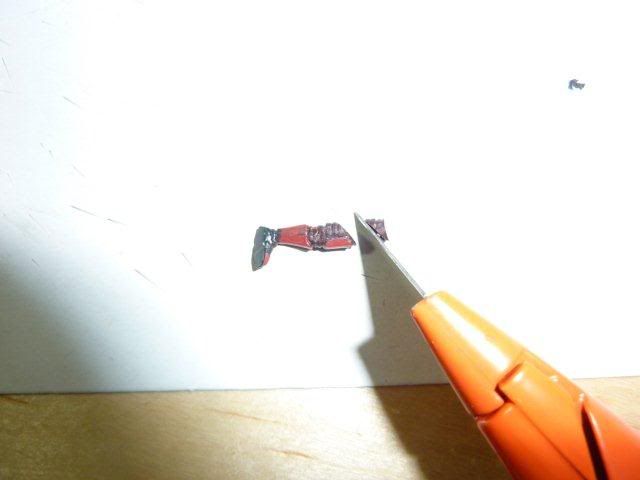
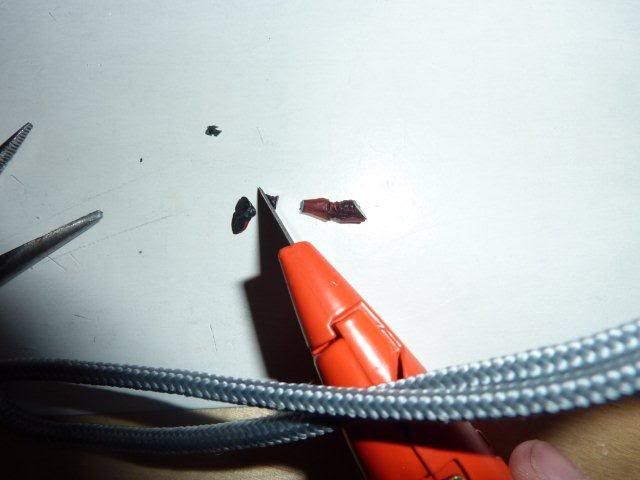
Now, cut between his two fists, which will thus make the left arm fully fall off, and the little stubby end of the handle of the blade which is coming from the bottom of the mando's right fist, like so:
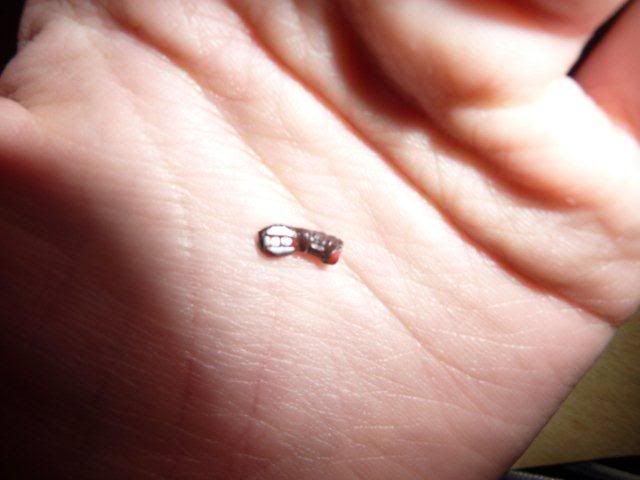
I've said this before many times and i'll say it again...DON'T THROW AWAY ANY "LEFTOVER" PIECES!!! SAVE SAVE SAVE THEM ALL!!!! Anyways...
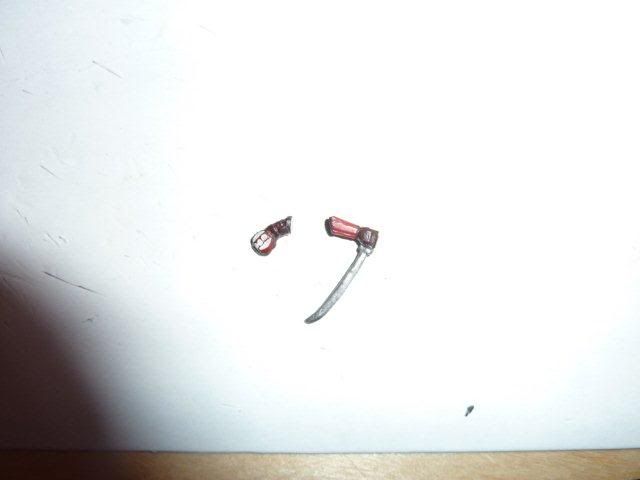
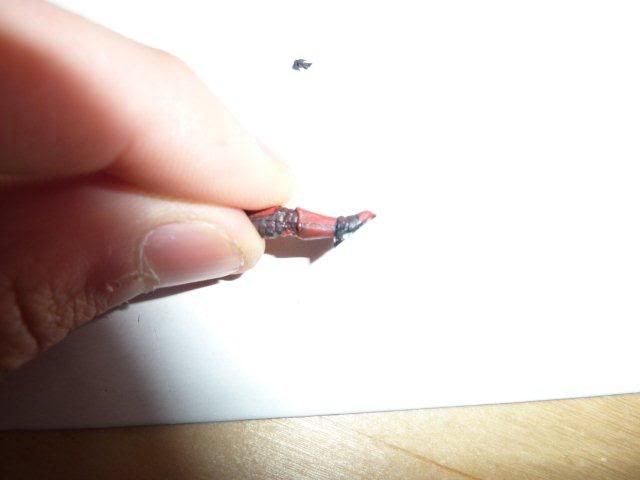
Now, take the mando's left arm that you just fully cut off. Cut this arm in half at his elbow; where his bright red gauntlet meets his maroonish colored arm:
Now, place this arm aside for now. Take the mando's body. You'll notice when looking at his left shoulder that the flat surface which you cut seems to be angled...you'll want the flat surface to basically be aligned perfectly straight. So, trim his left shoulder until the flat surface is aligned as straight as a vertical line...that didn't really make sense so look at the following picture for more guidance

...:
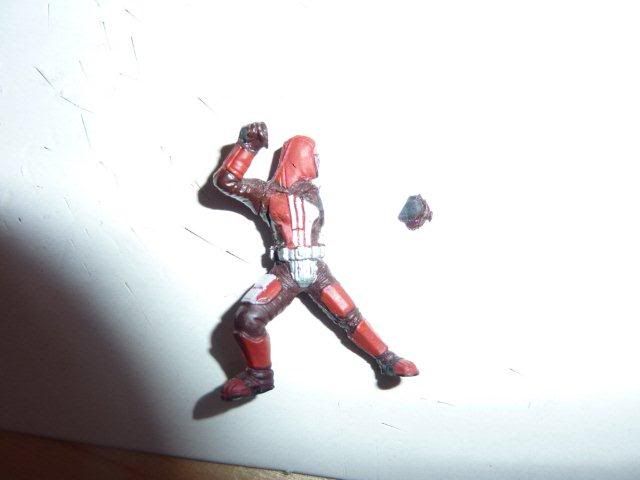
Now, cut off the mando's legs right where his legs meet at his middle section (i.e.: below the waist). Cut off the legs at an angle so that the cut (flat) part of the top of the cut-off leg is basically not angled or slanted...it has a nice flat-topped look to it. The right left can be cut off at an angle but the left leg MUST be cut like so. See the following picture for more details (always wanted to say that
) :

Now, take the mando's cut-off left (straight) leg. Cut the top of his leg right above his bright red knee pad at about a 45-55 degree angle. The cut off trimming should basically look like an isosceles triangle...or something to this effect:
Now, it's time to use that extremely helpful 180 degree turning trick. Turn the just-trimmed piece 180 degrees and reglue that piece back to the spot where you cut off his left leg originally from the body. The flat part of the trimmed piece should be facing DOWN. Here's some different-angled shots to get an idea of what it should look like:

Now, take the mando's right (bent) leg and trim the top TWICE (make TWO incisions) so it has a flat-top to it like the left leg. Unfortunately I don't have a picture of the trimmed piece but i DO have a picture of the newly-trimmed right leg (if you really want to get a glimpse of the trimmed piece see the following picture AFTER this one):
Now, take the thicker of the two trimmed pieces and re-glue it back to where the right leg was originally cut off. Basically the thicker side of the trimming should be at the bottom, and the thinner side at the top, like so:
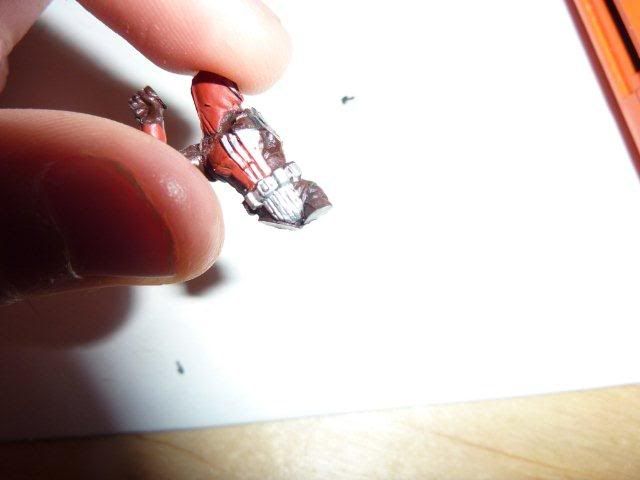
Now, place his body aside to dry. Take the mando's left leg again. Cut his leg into three pieces. First, cut right below his foot gauntlet, and then cut his foot so that there's a triangle-shaped part when you cut it. I can't really explain this cut; please see the picture below. It helps a LOT to know where to cut:
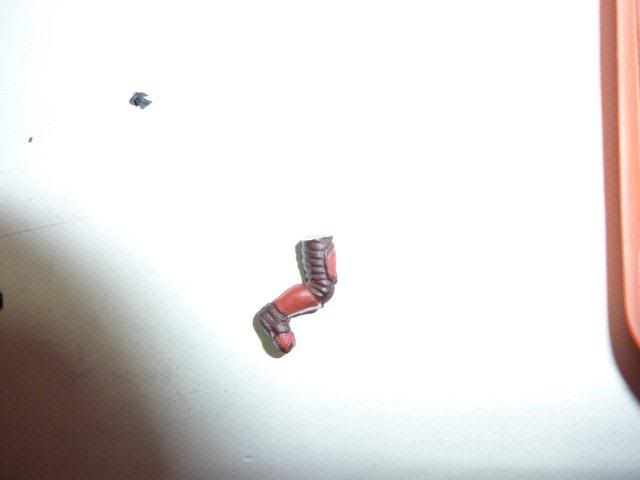
Now, place the trimmed part aside, and reglue the foot to the leg. The foot should have an angle to it so that, basically, if you were to attach a body at the top of the leg, it'd look like the person was kind of sliding...see below:
The following picture shows another angle of the newly glued foot. Unfortunately, the glue apparently wasn't dry enough so the foot slid in its angle. It should NOT look angled; rather, it should look perfectly straight and aligned to the leg...
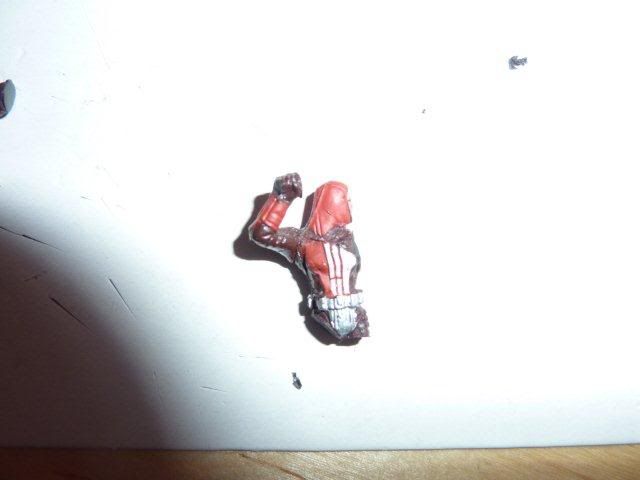
In the meantime, take the mando's body again (hopefully it's dry by now) and glue his bent leg back onto it. It should as if he's kicking up really high, and (if this mando happened to be a girl) that (s)he's flirting REALLY bad...you know, how they kick up their leg in back...ahh, nevermind. Should look something like so:
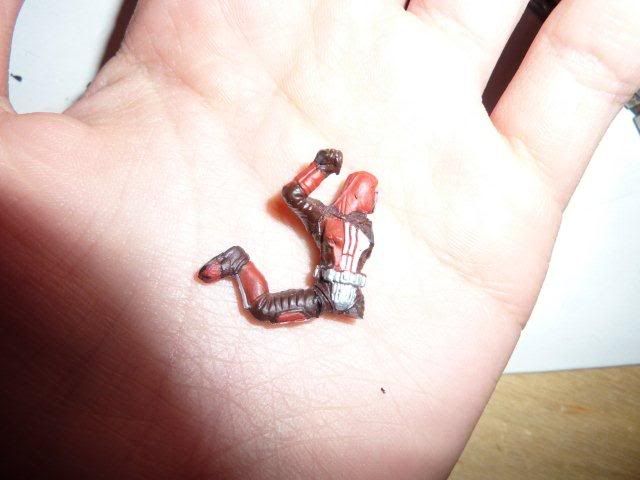
Now, once that and his left leg has dried, glue his left leg back onto the body where it should go. The angle should be a steep one, i.e. more than parallel to the body...like so:
Remember how i told you to NEVER throw away your trimmings? Well...here's why. You need them now. Once the body's dry take your left shoulder trimming and your right leg trimming. Glue it to the mando's shoulder so that the thicker side of each is facing downwards and the thinner side is upwards, like so:
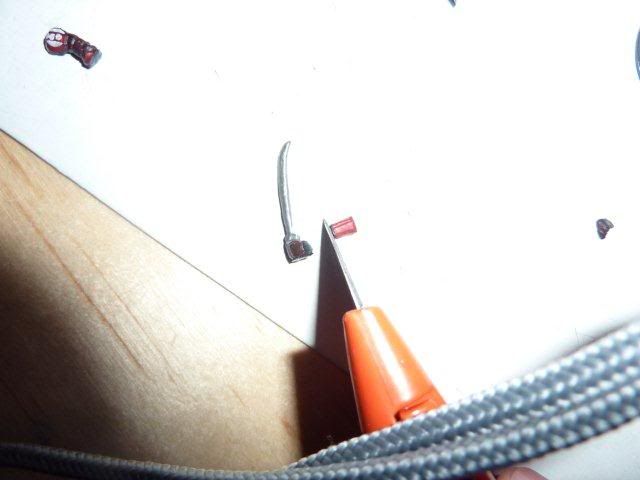
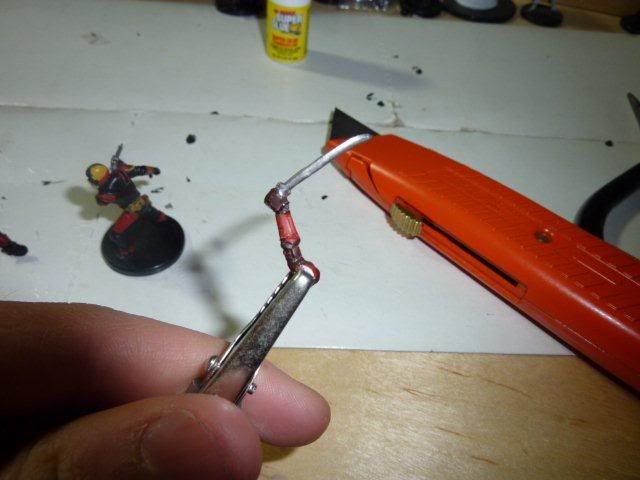
Now, remember that sword hand you cut off a loooong time ago? Well, take his arm now (the lower half of his arm holding the sword) and cut is so that the top of the arm is flat-topped:
Once again, use that same 180 degree turning trick and turn this trimming 180 degrees and reglue it to the upper half of the mando's arm (the half with the shoulder pad). The result should be something like a flat-topped surface at the end of the arm like so:
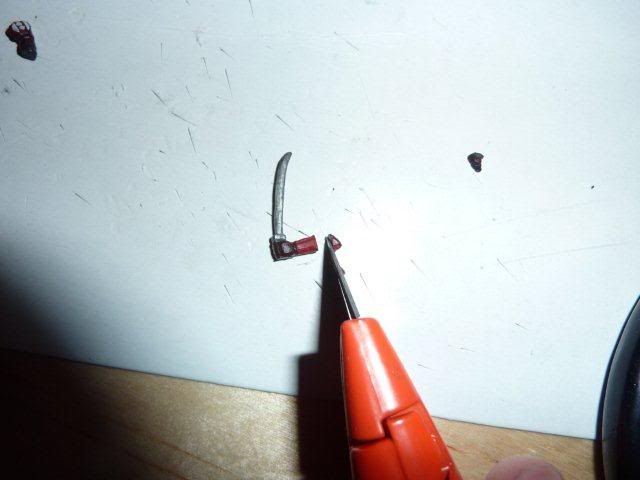
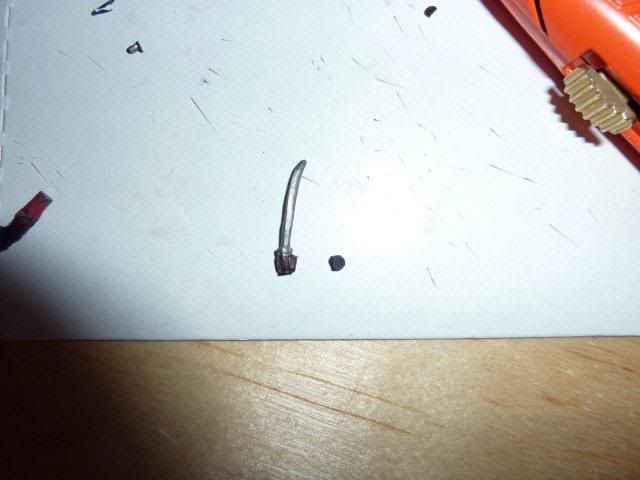
Now, cut off his sword + fist right at the end of his bright red gauntlet (make sure the cut results in a flat topped surface):
Glue the gauntlet back onto the upper half of the arm. It's pretty self-explanitory. Lol:
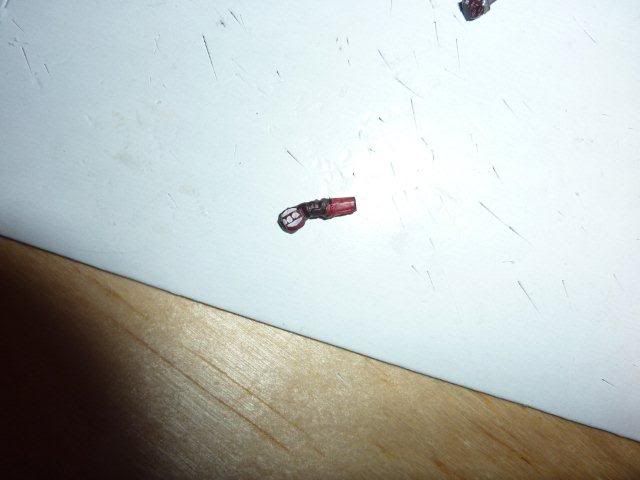
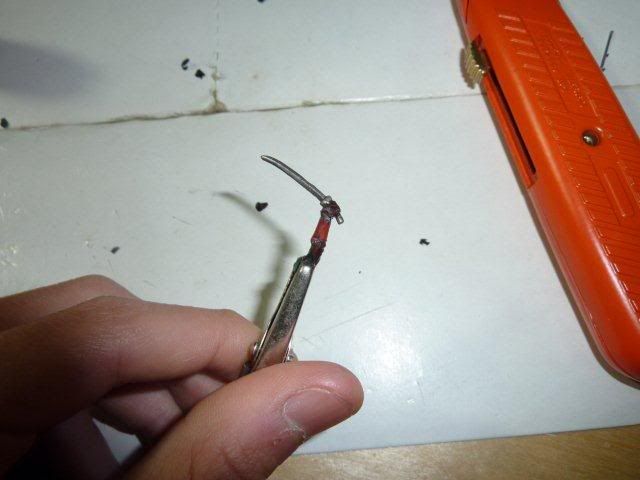
In the meantime, take his fist + sword and trim the wrist part of his fist so that (when looking at the fist from the left) the upper part of the fist is thicker than the bottom; having a slant, like so:
Re-glue the trimmed piece back onto the arm, making sure the thicker side is to the right (when looking at it from the top). Then glue the fist + sword back onto the trimmed piece, making sure the sword is pointed INWARDS:
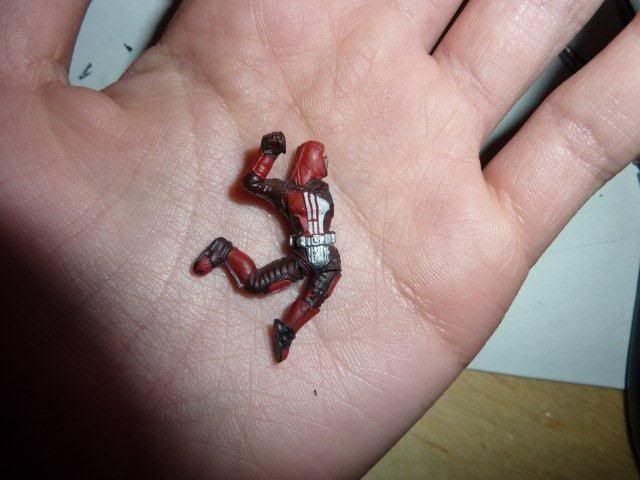
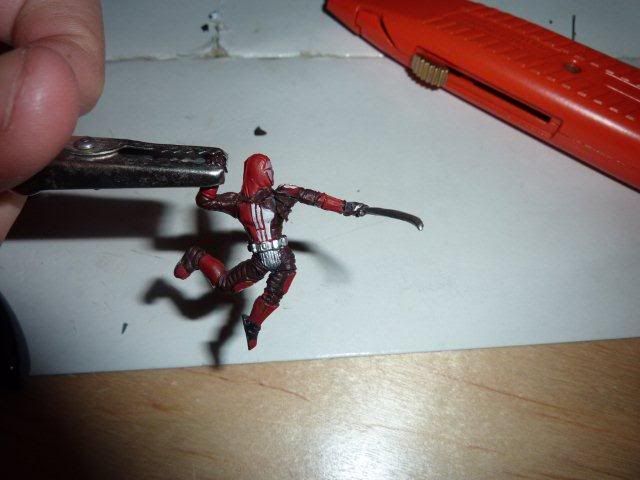
Now, glue the arm back to the body where it should go. Make sure the angle of the arm is aligned to the rest of the body; rather than angled...make sure it's straight with the other arm:
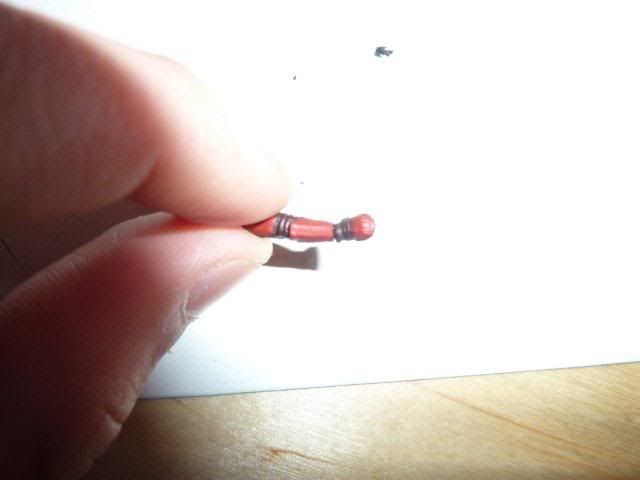
Now, while his body's drying again, take a sharp pin (clothes pin perhaps?) and stick it in the center of his base, poking a hole through the bottom like so:
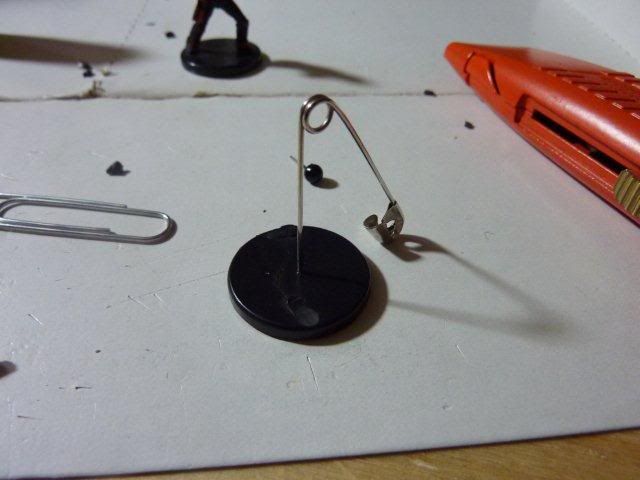
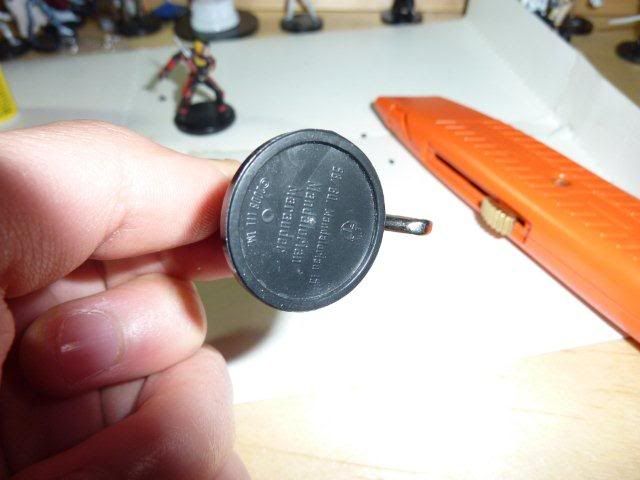
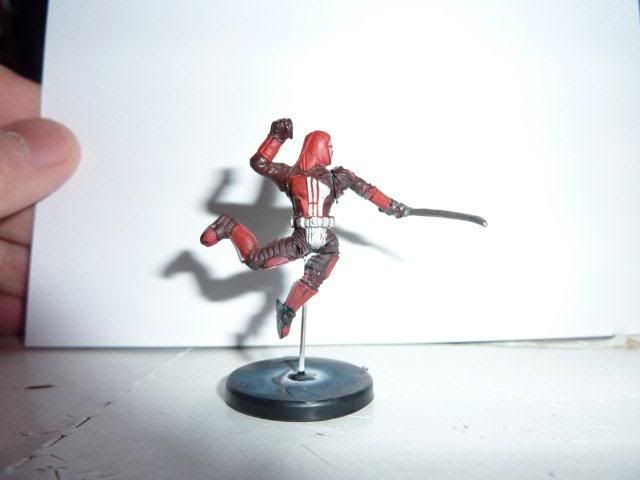
Then, cut off the pin (including the sharp side) at around roughly 2 cm. Stick the less-sharper side back in the base, and glue it (sadly, i don't have any pictures to show this part). Once it's stuck in there nicely gently stick the mandalorian onto the tip of the pin, and massage it in his rear-end area so that he kind-of sticks on the pin. Glue accordingly the body/legs to the pin wherever the pin touches. You're done! Now you've fully successfully created an evil mandalorian who will prey on any unsuspecting person (or droid)...mwahahahahahahaHAHAHAHAHAHAHAHAHAHHAHAHAHAHAHAHAHAHAHAHA!!!!!!

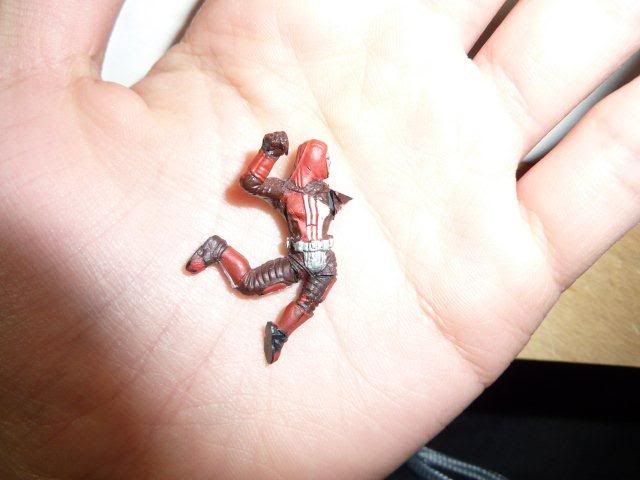
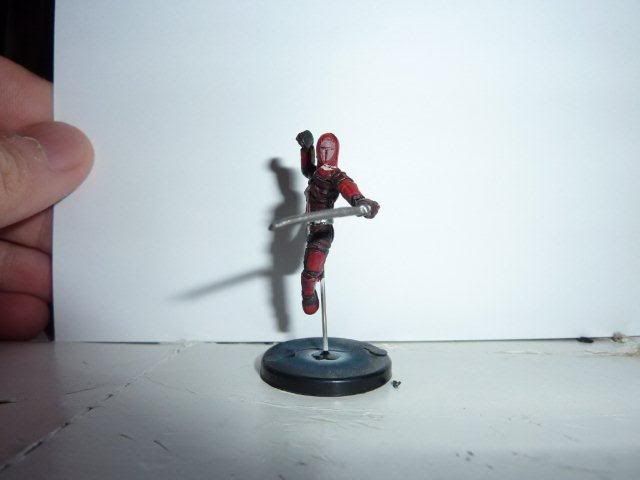
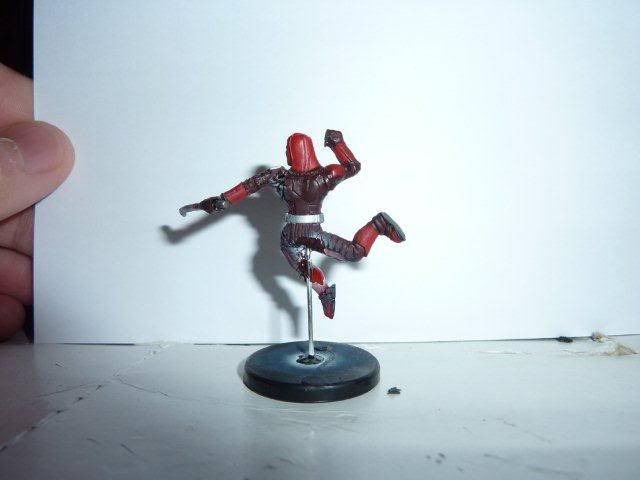
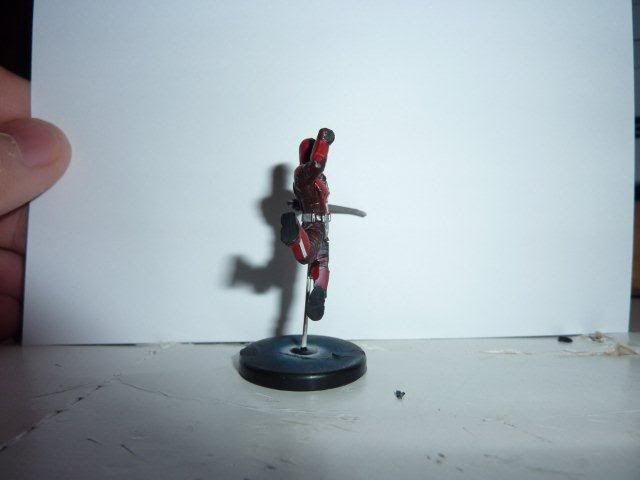
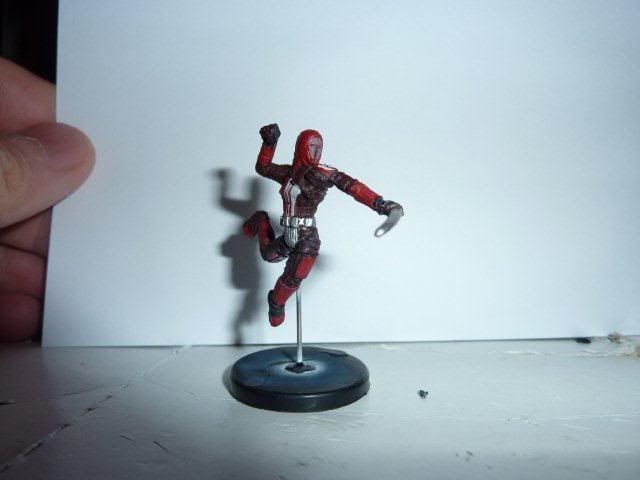
Here's my finished pictures...:
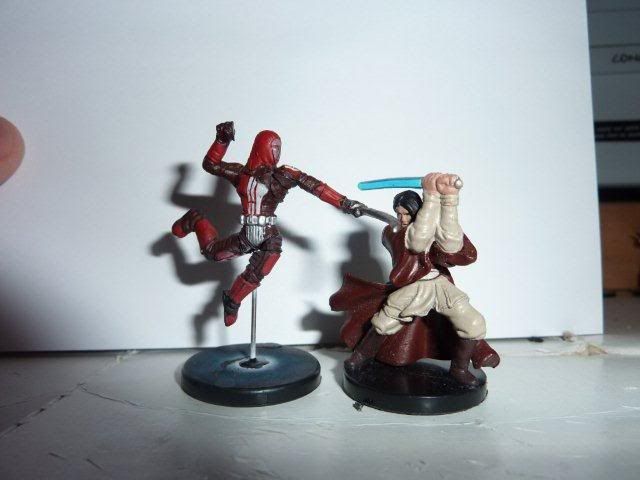
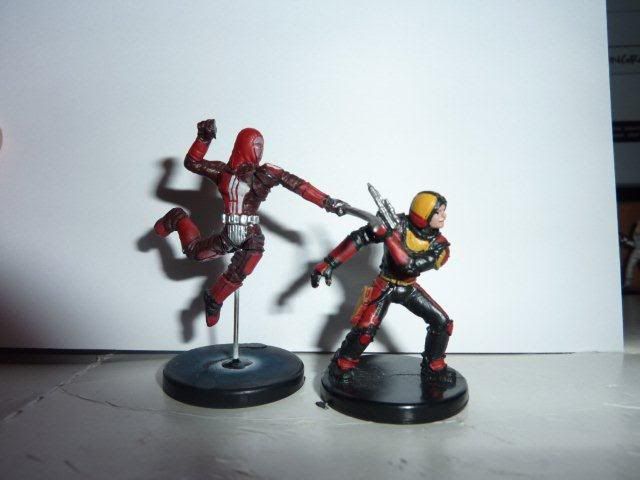
And here's a picture of a scenario of the mando about to "jump" a jedi watchman; ironically lol:
...and here's one of an OR guard turning a "blind eye"...lol:
So lemme know what you guys think! I kinda had to rush the end, since i was tired, so it might not be so good in terms of instructions at the end. Anyways, questions and comments are appreciated as always! Thanks!