...and you will suffer accordingly for your fate!

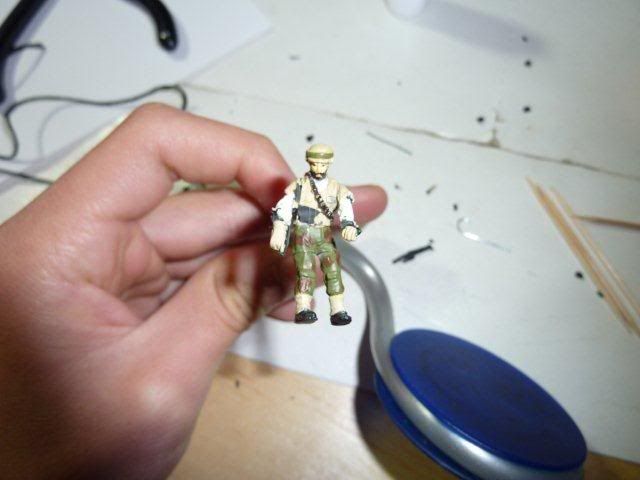
This custom i thought was pretty well, "twisted", as it literally shows a public execution of an unlucky Rebel Commando caught red-handed sneaking around the Death Star II.
To make this (flying) custom, you do NOT need...:
-Paint
-Modeling Putty
-Any V/R pieces
-Experience (Well, you might need a little now lol)
What you DO need is:
-Superglue
-Xacto knife
-Clothes Pin
-Paper Clip (Use it to spread out the superglue)
-Tools (i.e.: Pliers/tweezers, wire cutter, etc.)
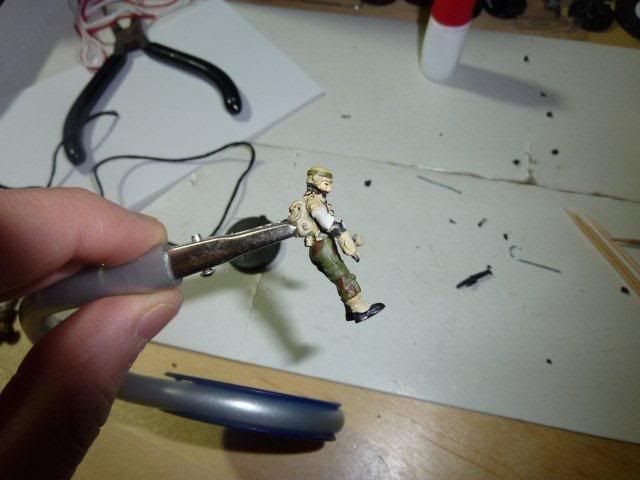
-A bendable grippy/tweezer thing...i can't really explain what it is it's like a base and a bendable wire-tweezer comes out of it...it's really helpful to hold some drying pieces in place while you work on other parts--*STRONGLY RECOMMENDED* if you want some pics of this i'll post some to someone's request.
-Glue Gun
-Thread/String (Either black or beige or some yellowish color)
-Scratch piece of cardboard as a "knifing" surface so you don't scratch your table or whatever while working
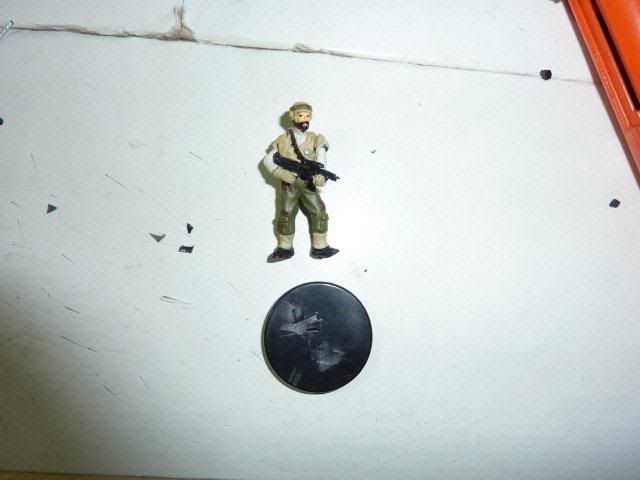
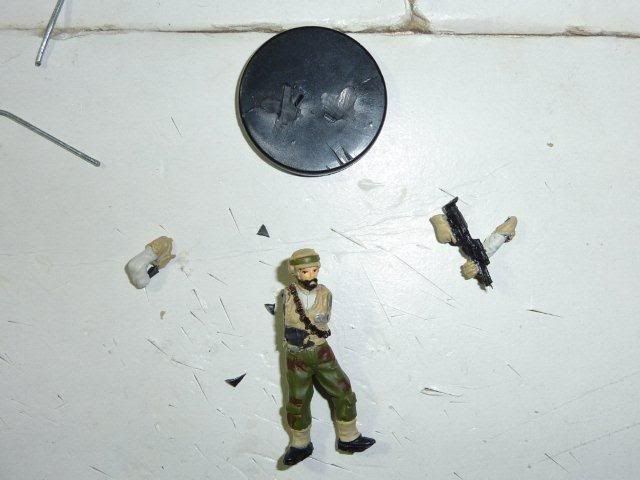
-x1 Veteran Rebel Commando
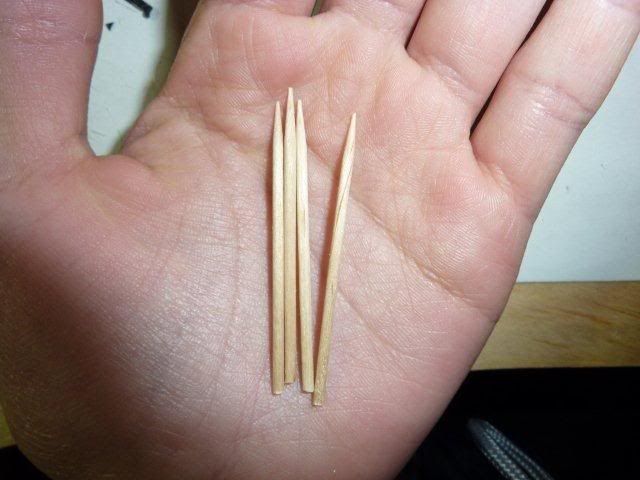
-x4 Toothpicks
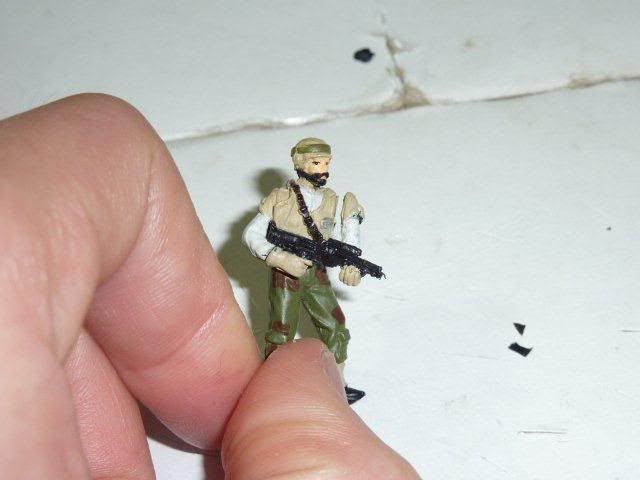
OK. First, cut the Veteran Rebel Commando from his base. This is the easy part, lol:
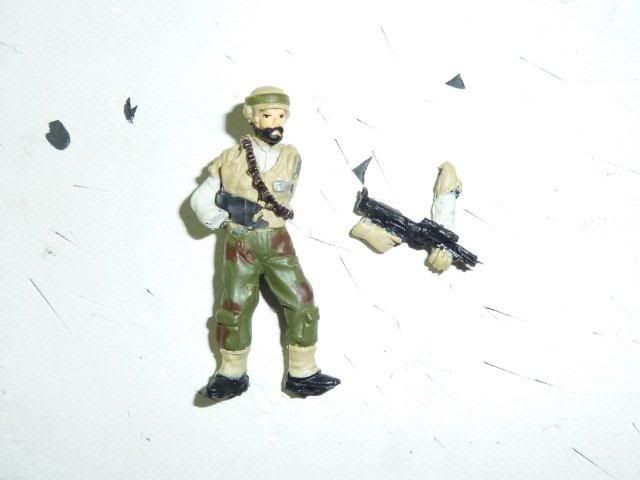
Next, cut his left shoulder off from his body, like so:
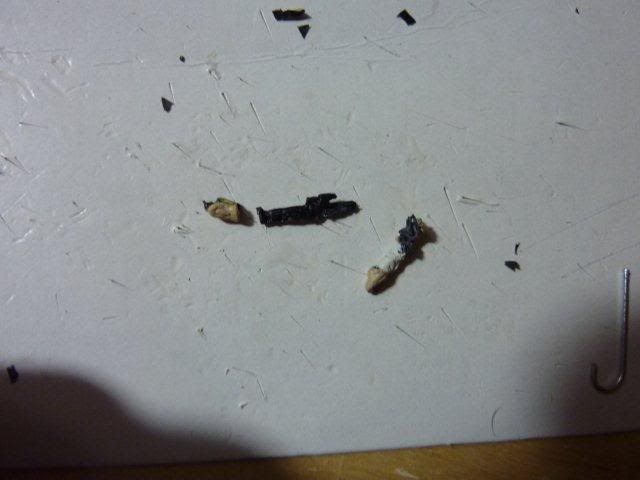
Next, cut his right fist from his arm and cut his gun off from his body. This part is tricky because the gun is attached a lot to the body so try and carefully cut it off. See below:
Next, cut off the right arm from the body. Make sure you cut in a straight line. It's ok if some of the mid part of his body is cut; just make sure the cut is straight.
When I cut the arm off, some of the body part of the stuff was cut off with it. I had to trim it so the arm was cleanly cut, like so:
Next, cut off the head from his body. Try and cut it cleanly off, like so:
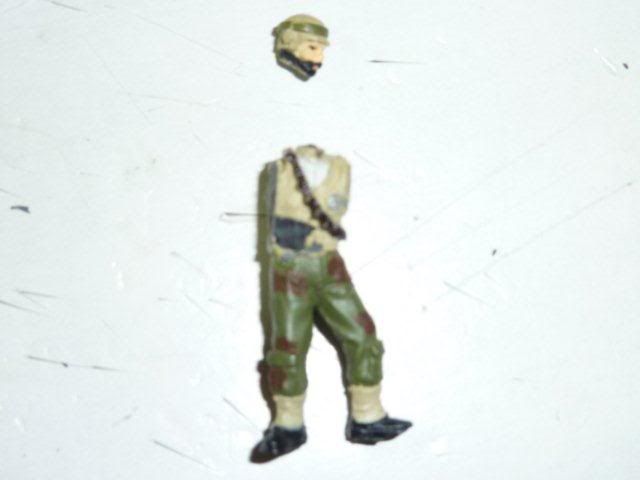
Cut a slant in the front of the body. You're basically going to want the head, when re-glued on, to have it be slanted downwards. Here's a shot from the front to get the picture:
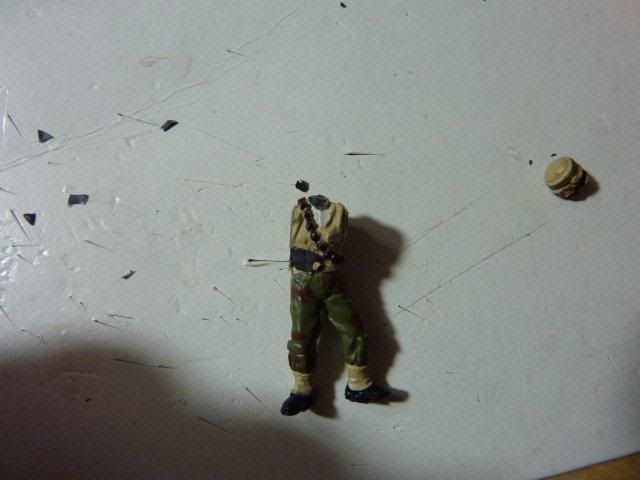
Next, cut both his legs off right where his lower part of his body splits into his two legs. Cut straight across. See below for details:
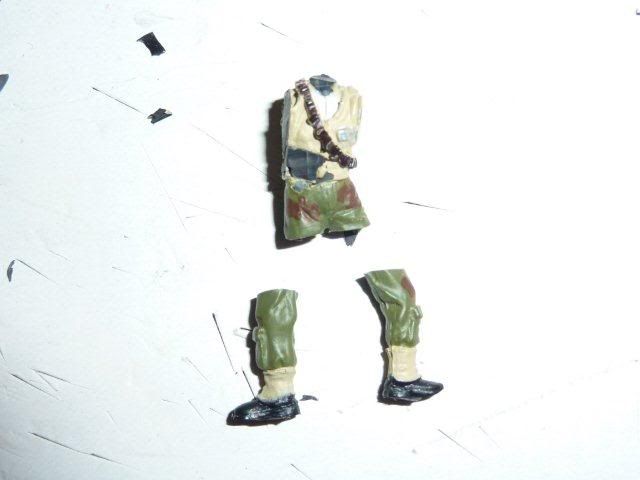
Now, cut a slant at the bottom of his legs (the part that's attached to his body). Start upper from the front of the legs and have it end lower at the back. Basically the legs when re-glued should have a forward slant...i have an angled picture from the side below:
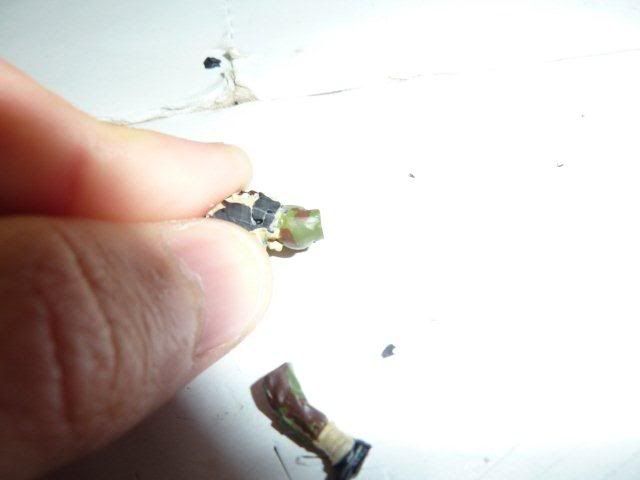
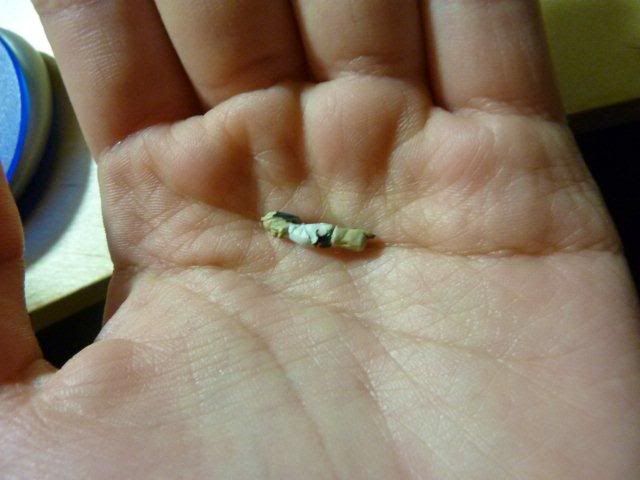
Next, take his right arm and cut it at his elbow, like so:
Use the 180 turn trick and turn the the cut off piece and glue it back to the upper part of the right arm, like so:
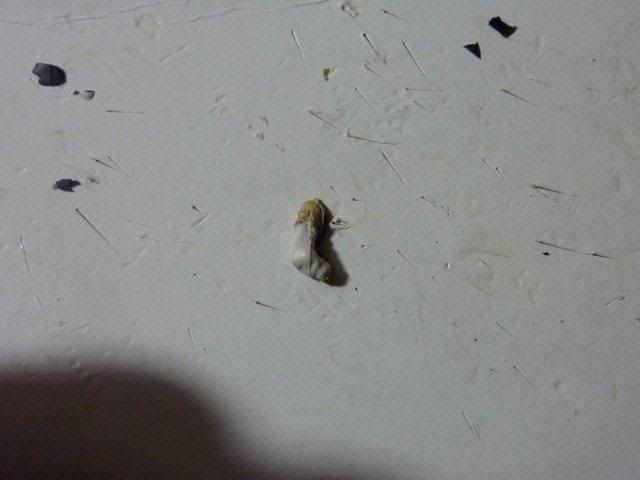
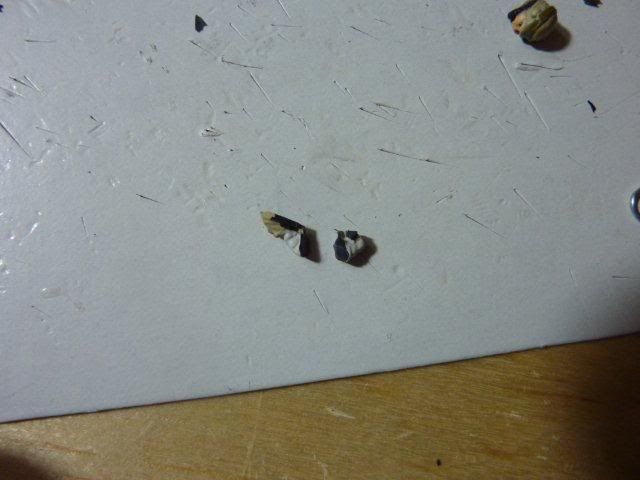
While that's drying, take the part with his left arm and his gun in his right hand. Cut the right fist from from the gun and cut the gun from the left hand. Since the left hand is wrapped around the gun, you'll need to carefully cut around it so leave the left fingers intact.
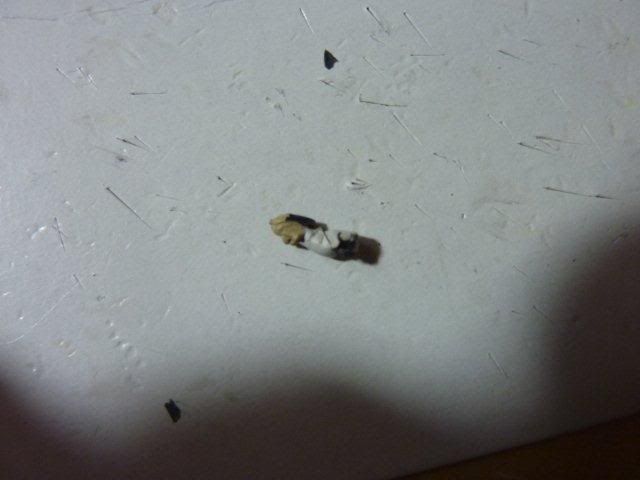
Hopefully the right arm is glued by now. Take the right fist and and glue it back to the end of the right arm, having the palm facing backwards, like so:
Next, re-glue the both the legs back to the bottom of the body, making sure the toes pointed forward on each leg.
Side view of the gluing (note: notice how the legs have a slight angle going in front of the body. This is how it should be):
Now, glue the right arm back to the body, making sure the arm has a slight forward angle (it should be parallel with the legs) , like so:
Another angled view:
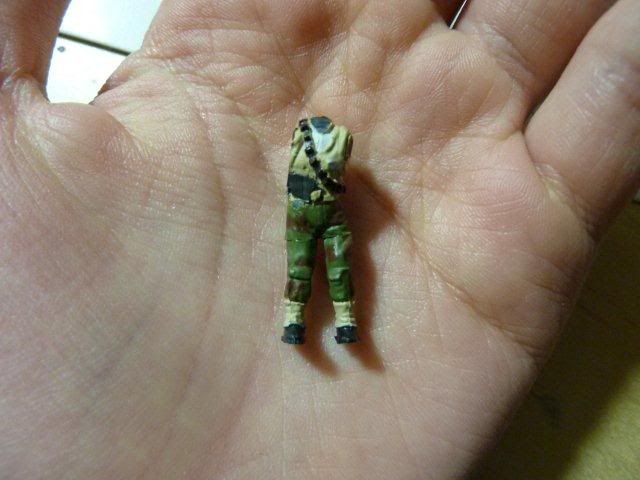
Next, glue back on the left arm; making sure it's aligned with the right arm and both legs.
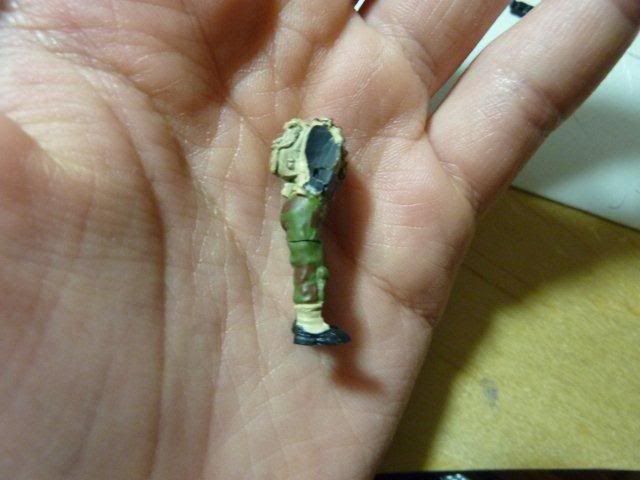
Now, glue back on the VRC's head. It should be facing slightly downwards due to the trimming of the neck you made a while ago. Don't be afraid to totally glob on the glue here, as you need to make sure the head is extremely sturdy around his neck, like so:
Sideways view:
Next, take your 4 toothpicks while the VRC is drying and cut off about 1/5 of each toothpick. It's easier to cut it with a knife than a scissors, IMHO.
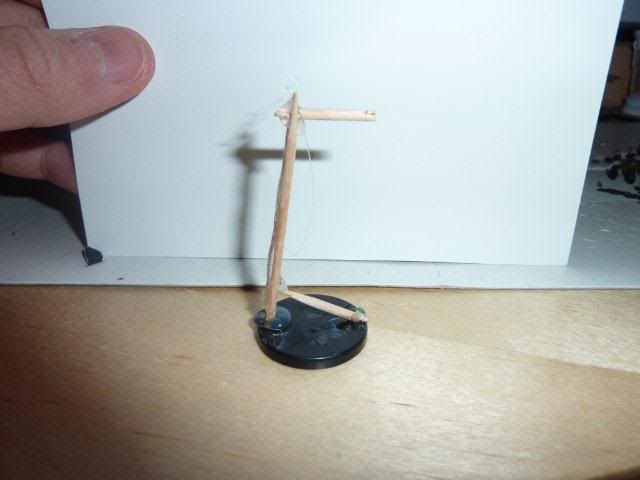
Glue two of those toothpicks together and glue them upright at the edge of the VRC's base. While in the picture below I used superglue; I found it to be so much easier to use a glue gun to do so (you'll see later how I used a glue gun):
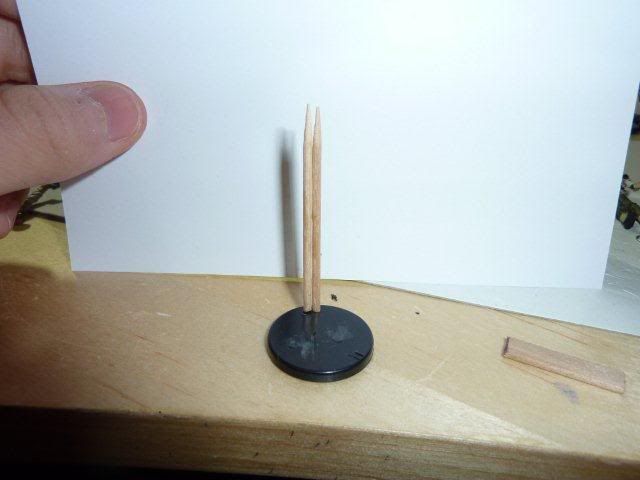
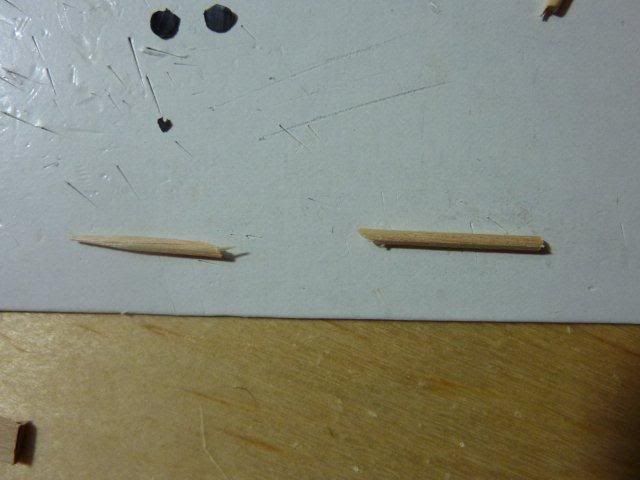
Next, cut one of the remaining two toothpicks at roughly halfway. Make sure you cut it at a steep slant. You'll need a knife to cut it so, like so:
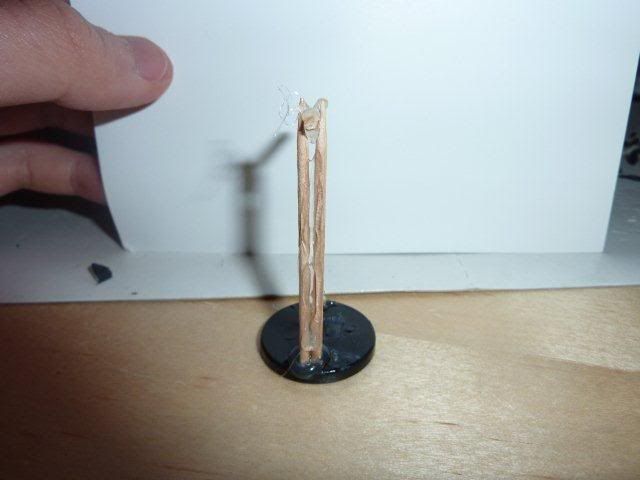
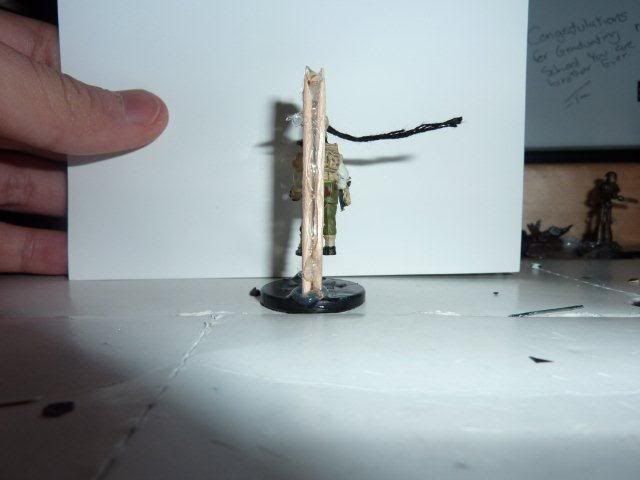
Glue the sharper part of the toothpick at the bottom of the base. The pointly side should be attached to the two "poles" (toothpicks) you glued earlier. Then, make a small dent; "niche", at the end of the other half side of the cut-in-half and glue that toothpick at the top of the two "poles" (make sure the niche is at the top). I have a final picture of what it should look like below, note that i used a glue gun to do so; as it made the whole thing MUCH more sturdier:
Behind view:
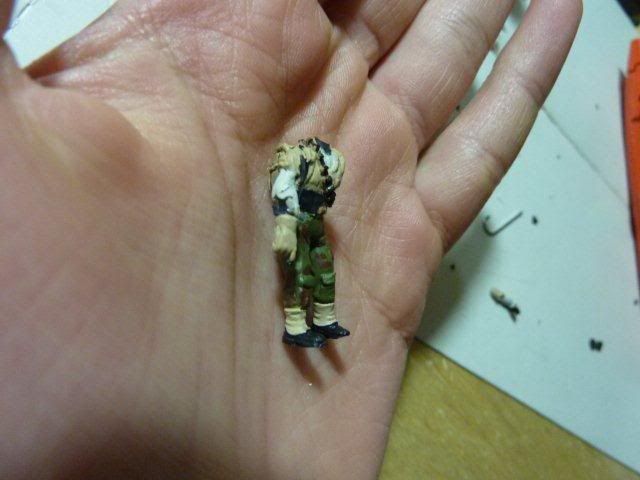
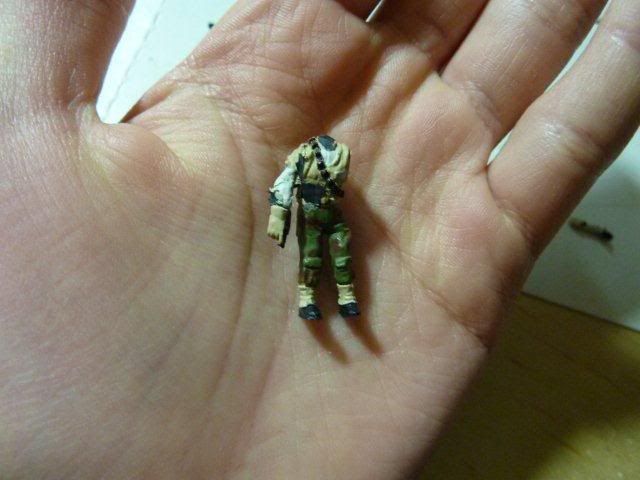
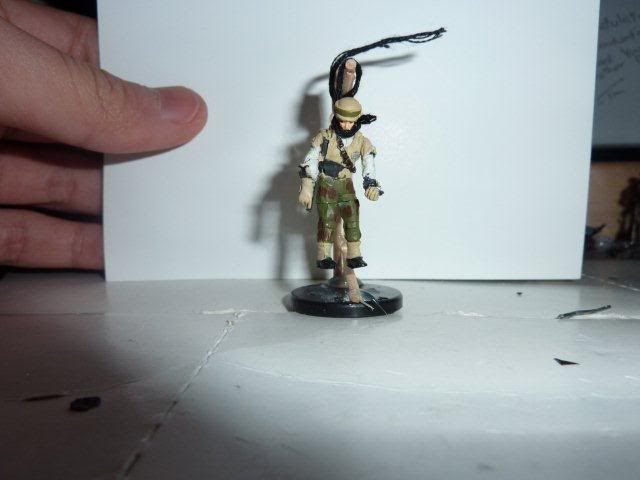
Next, take his thread/string and wrap it and tie it around the VRC's head. Make sure the knot it at the back of his head:

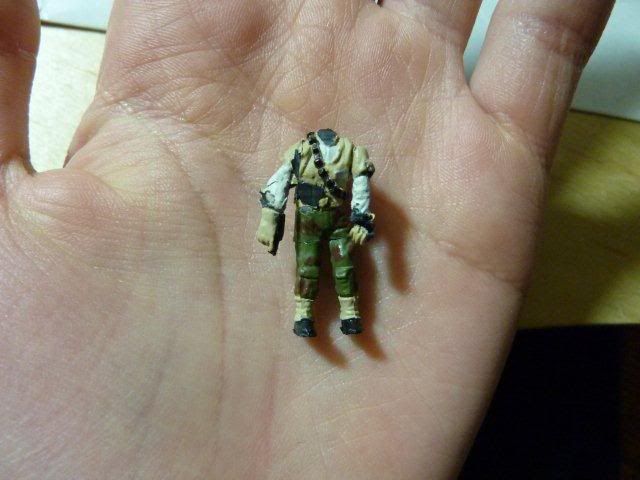
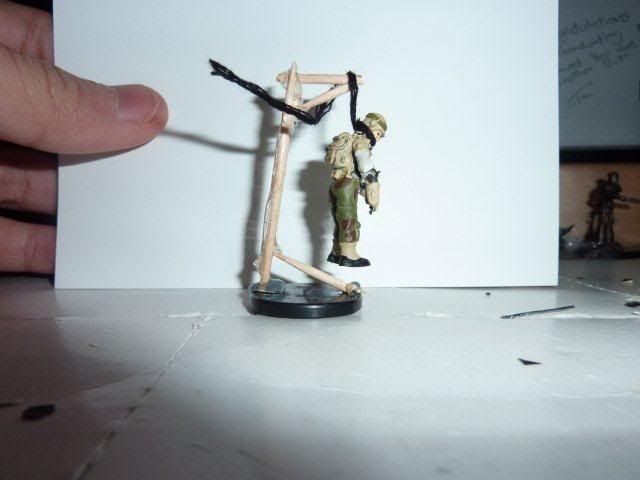
Finally, trim the string and wrap it around the little niche that you made at the top of the toothpick that you put at the top of the two "poles"...and you're finished! You've now created a rebel hangman, who just got executed by the Emperor! Here's my final pics:
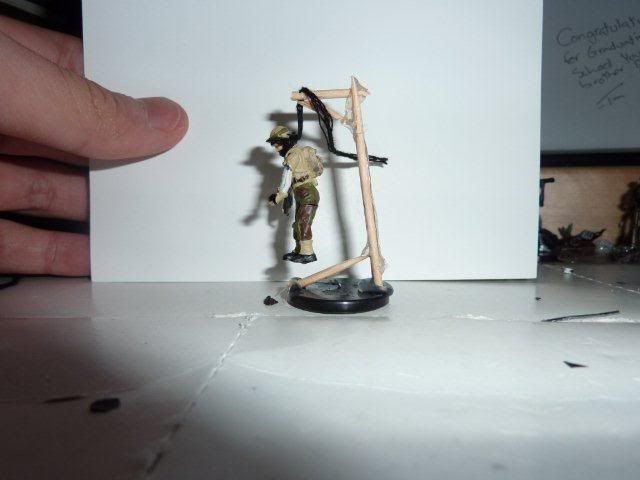
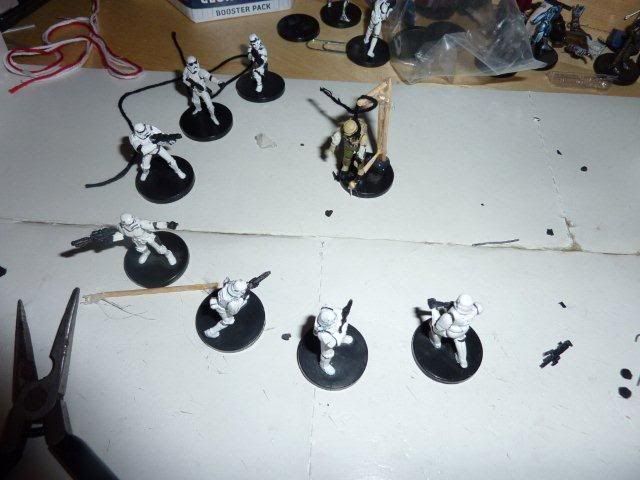
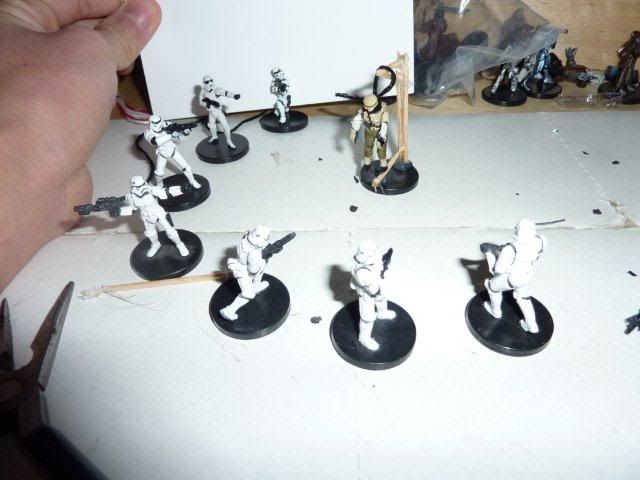
And here's a "scenario" picture of a bunch of stormies viewing the public execution and preparing to fire at hiim for some strange morbid reason, lol:
There you have it! Since the directions were kind of hard to put into words, it might be a bit confusing. If you need more help with it, just post or BM me.
Questions and comments are always appreciated!